Sunday, 1 January 2017

On the 30th

Floor frame down, time to top it off with some OSB boarding. This will be the base for the finished flooring to come. I think we will use some local pine floor boards. That is a way off yet, and will come once we have the walls and the rest of the frame finished. We want to leave that as long as possible to protect it from any damage whilst we are working.

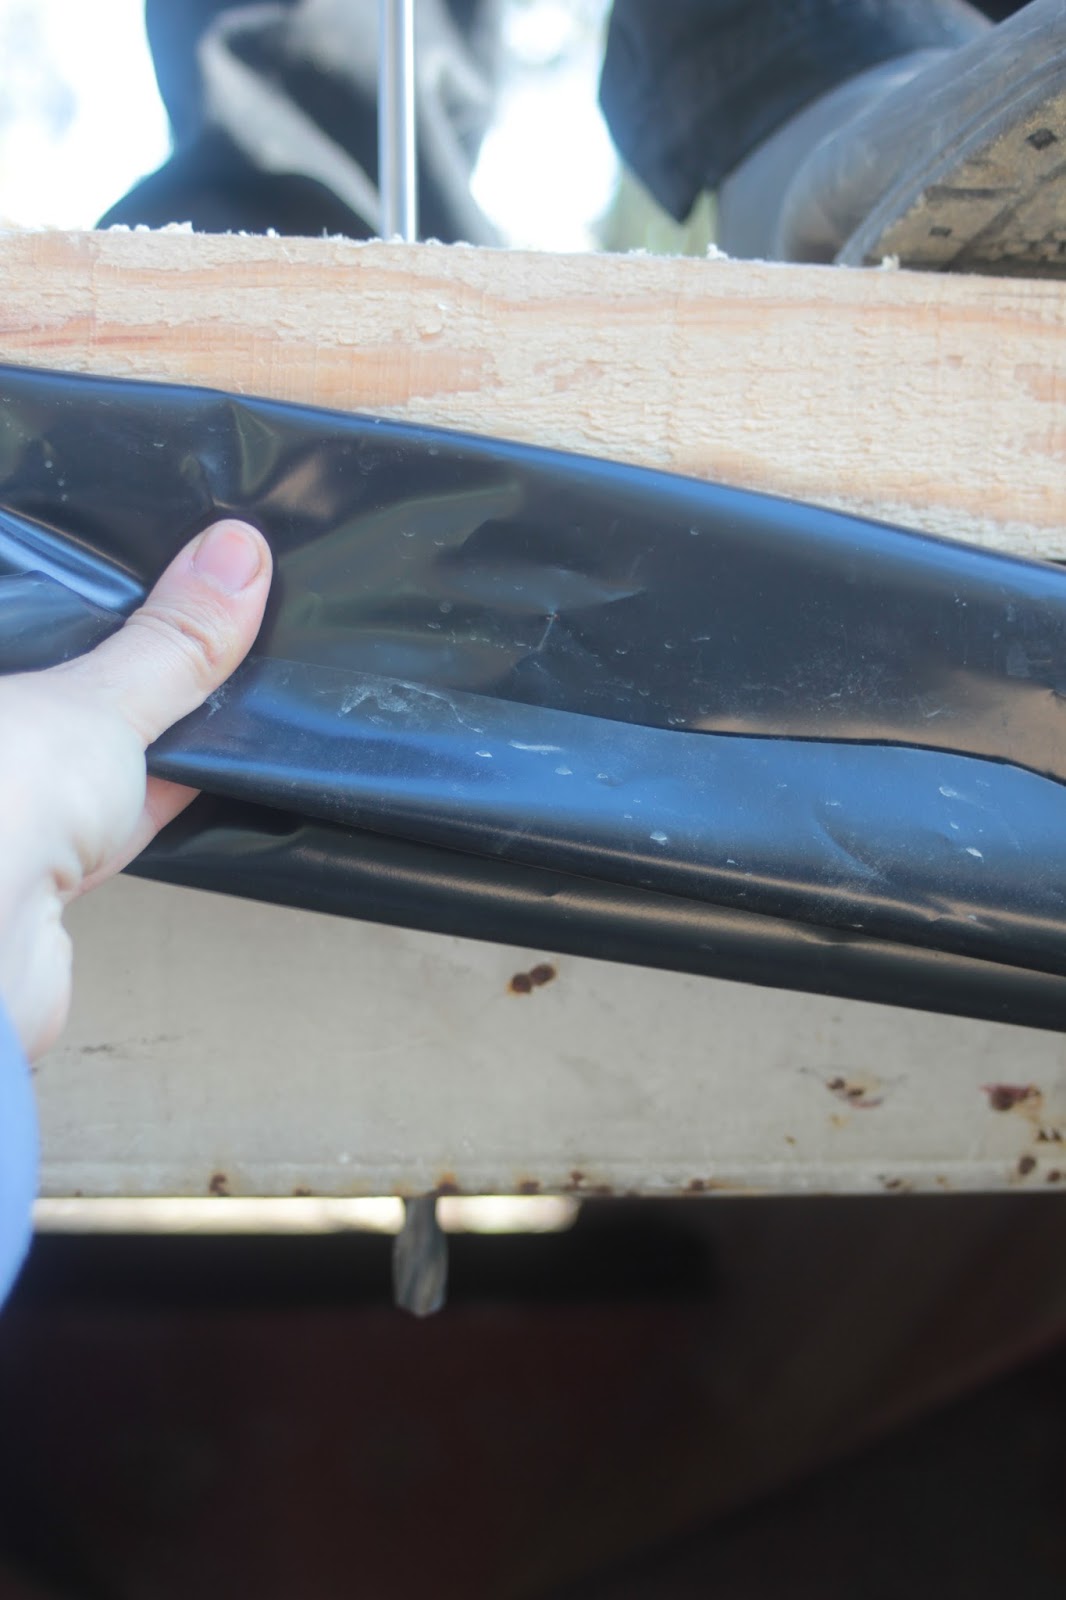
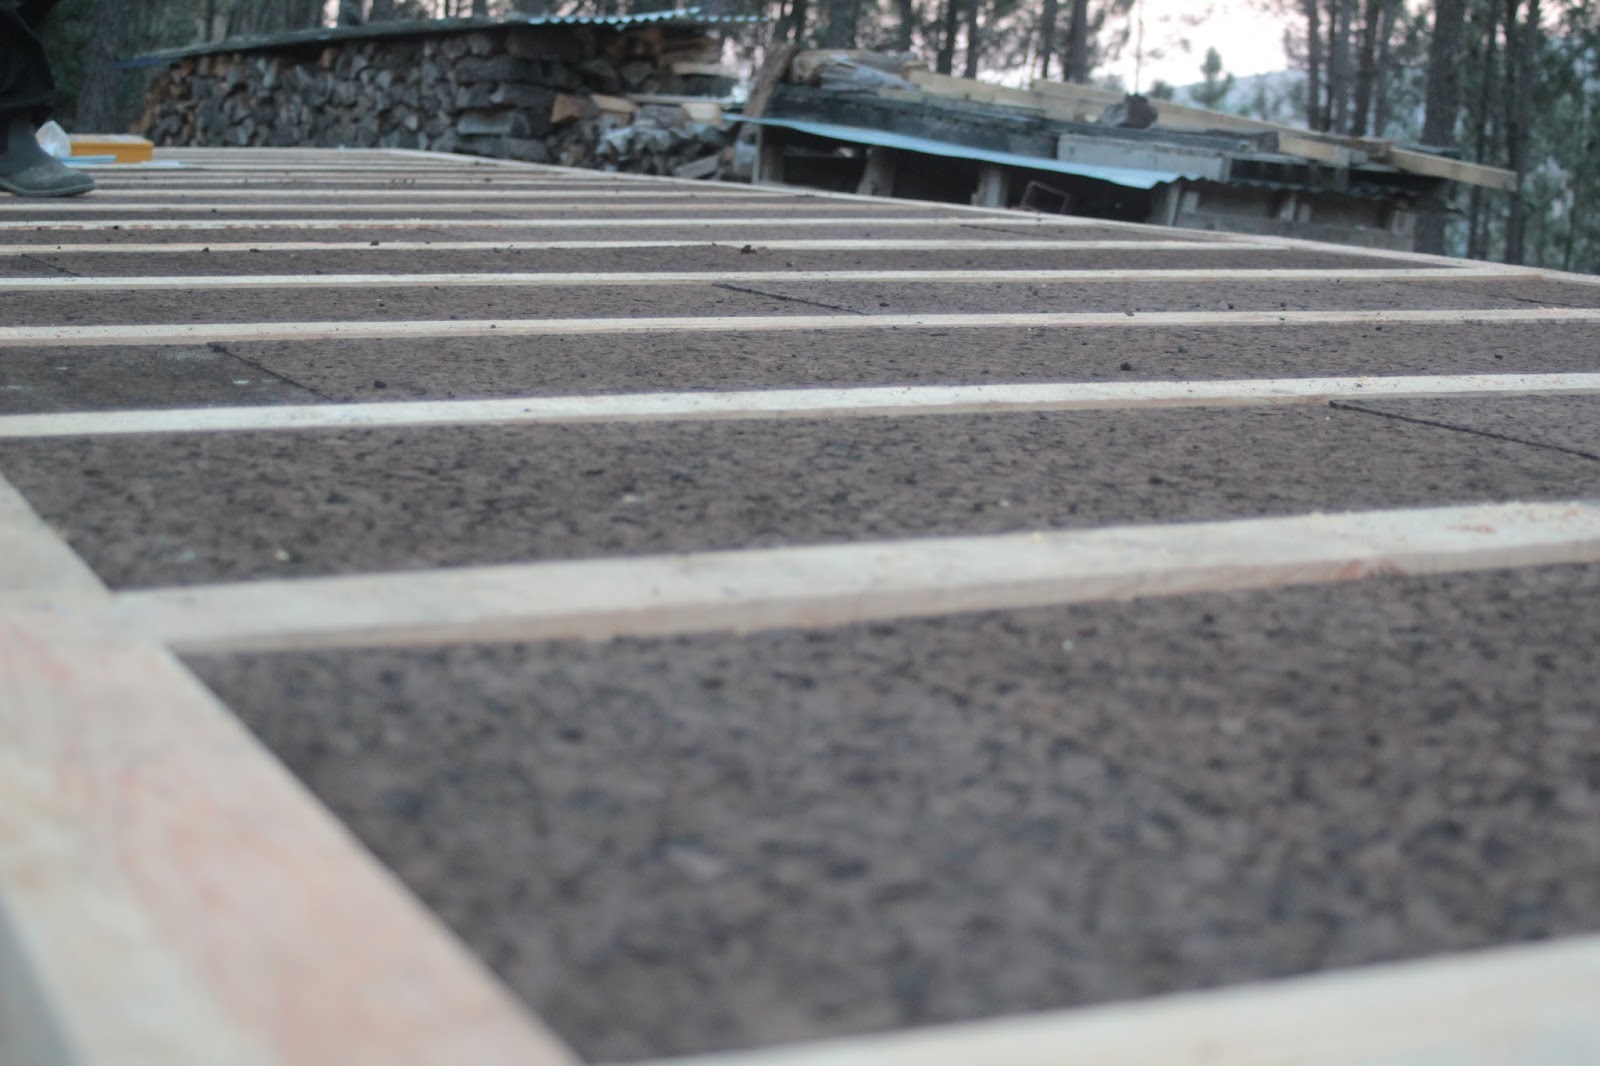
 What we have so far as the floor in layers: the trailer's original floor, some black plastic( to prevent any moisture coming up through the trailer), wood frame with cork inside, and OSB sheeting on top .


 Using the chalk line to find the centre. This then gives us the centre point of the floor joist to screw into. Simple technology, works wonders!

 OSB marked and ready for us to cut and/or to screw.

 Raquel cutting the OSB boards to fit.

 Missy didn't resist to David's invitation to come on top of the trailer! She loved it and just stayed for a while for some strokes.

 At the end of the day, to warm up the BUS and ourselves, we used scraps of the wood that we have been cutting to make the floor frame.

David and Raquel

On the 29th

Today we got cracking with laying the first level of flooring and insulation. This was an exciting day for us because after so much planning and preparation we were finally going to get building! woohoo!
 What is the plan for today?


 Drilling the wood through the floor frame and metal chassis of the trailer. Super long drill bit made the work effortless. It really helps when you have the right tools. This one was from Supermaco, our favourite hardware store. We love you Supermaco!


 Clamping the wood in place and cutting the metal thread rod to bolt it all together. After already securing some of the flooring I realised that it would be better to also have the bolt going through the frame also. So we will wait to to this once the frame is on. That will be coming next...

 Olha Pai Sesinando, vê como a madeira está bem segura à estrutura metálica; era a isto que te referias, não era?

 Woohoo, finally getting a chance to use the nail gun. It made quick work of things and we realised that the right choice was made.

 Cork in, but we decided to put all the wood first and then the cork at the end.


 David looking at the plans on Sketch Up. This is where all the time on sketchup really started to pay off. I have a ready made diagram to refer to, with all the dimensions and pieces of wood to use.


 Cutting the wood pieces to measurement. Raquel making fast work of cutting the wood to length ready for the floor frame. We made a great team :)

 Small adjustments at the end of the structure so we could put in the last piece of cork.
 A small break in the afternoon: tea and chocolate crackers, mmmm!

 Almost every cork into place. I designed the floor so that the cork would fit in between the joists. This saved a lot of time as we did not have to cut the cork so much. It was very satisfying to put it into place, I love cork.


 Cutting small pieces of cork to fill in the places left.
We did have to cut some to size to fill in length ways. It is super easy and fast to cut and no yukky toxic dust.


You can't see so well in this picture, but this is the finished floor frame with the cork in place. Looks exactly the same as in my drawing :)))

 And cork is in! Ah, the warrior rests...


 OSB was the next layer.


 We just had time to put the OSB on top of the cork layer without attaching it. Tomorrow is another day!

David & Raquel

Amazing day - on the 28th

Ok, so here we are getting ready to put the floor down. The trailer is now extended so we have to add in some support for the insulation and floor to follow.


 David Showing Raquel a few techniques. Here we are putting some wooden joists on the trailer extension.


 Raquel putting her previous experience with the cat's tiny house into action - sawing manually.


 Experts... in screws!

 "Barrotes" / joists in place. These will support the insulation.

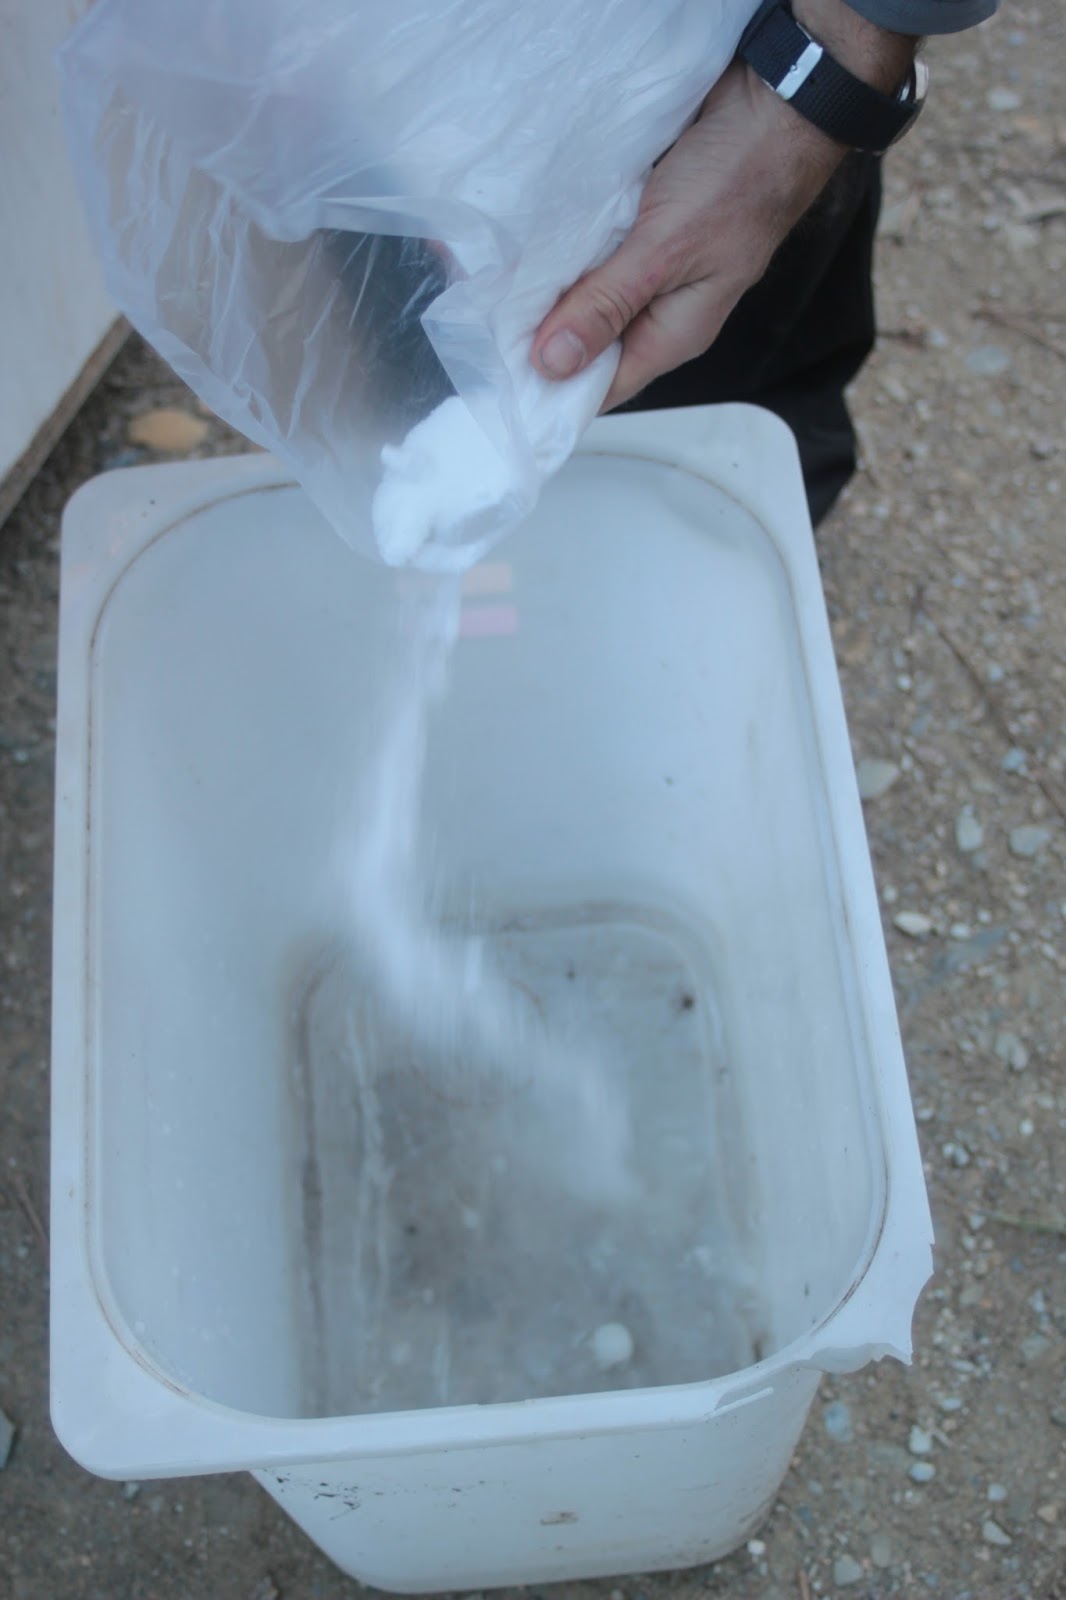
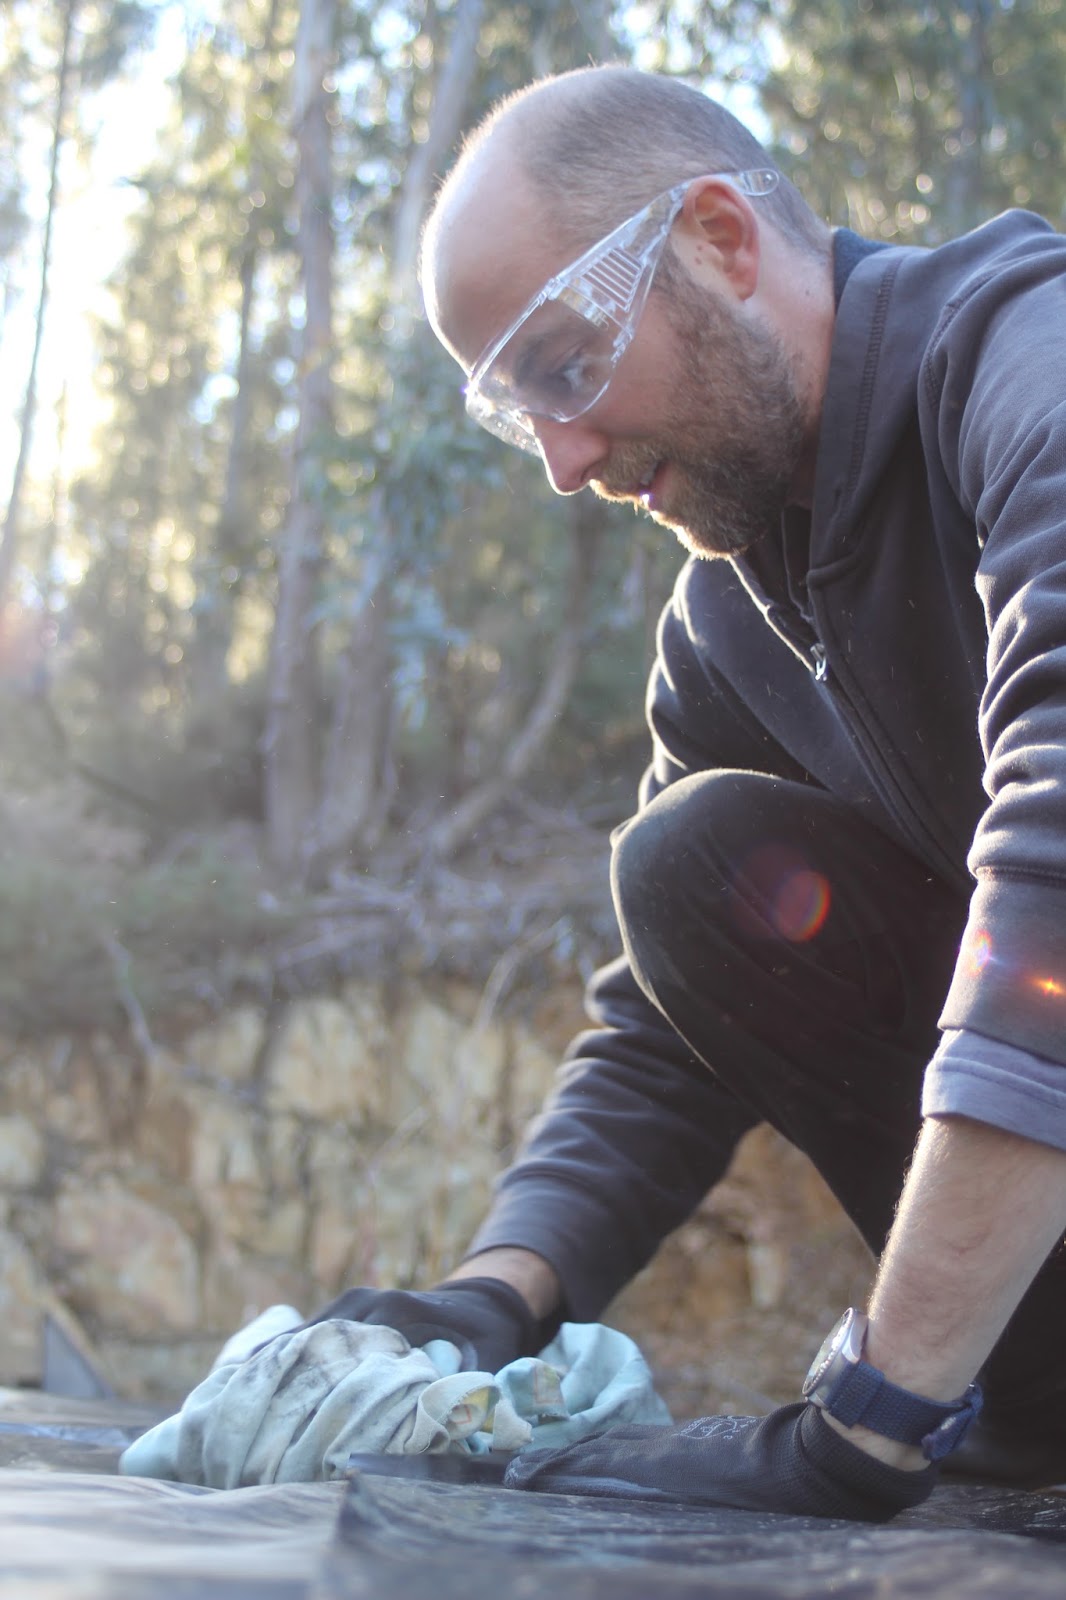
 The amazing Borax. We mixed it with water and then brushed all the pieces of wood that we put on the trailer so far. This is a very good wood preserver, and also prevents any insects looking for a home.

 The tape that we used to fix the 2 pieces of plastic together.

 Raquel showing her precious Leatherman - very useful! For her, a fantastic heritage from Macgyver's TV show. She is always very excited to put it to use, and whenever there is a good opportunity, out it comes :)

 David fixing the plastic pieces together.

 We had to cut some little bits from the metal structure of the trailer so that the wood would sit level. The trailer wasn't designed for a house, so we have to make adjustments when necessary. Always makes a good picture with the molten bits of metal coming off the angle grinder. They also burnt a hole in my trousers :(
 This pieces of metal were used to level the floor as well and we had to sand the sharp parts away.


One important factor is to make sure the structure of the house is secured properly to the chassis of the trailer. When we come to move the trailer we want everything to stay together. Here I am drilling through the floor and through the trailer chassis, I well then pass a bolt through the frame, floor and chassis. 

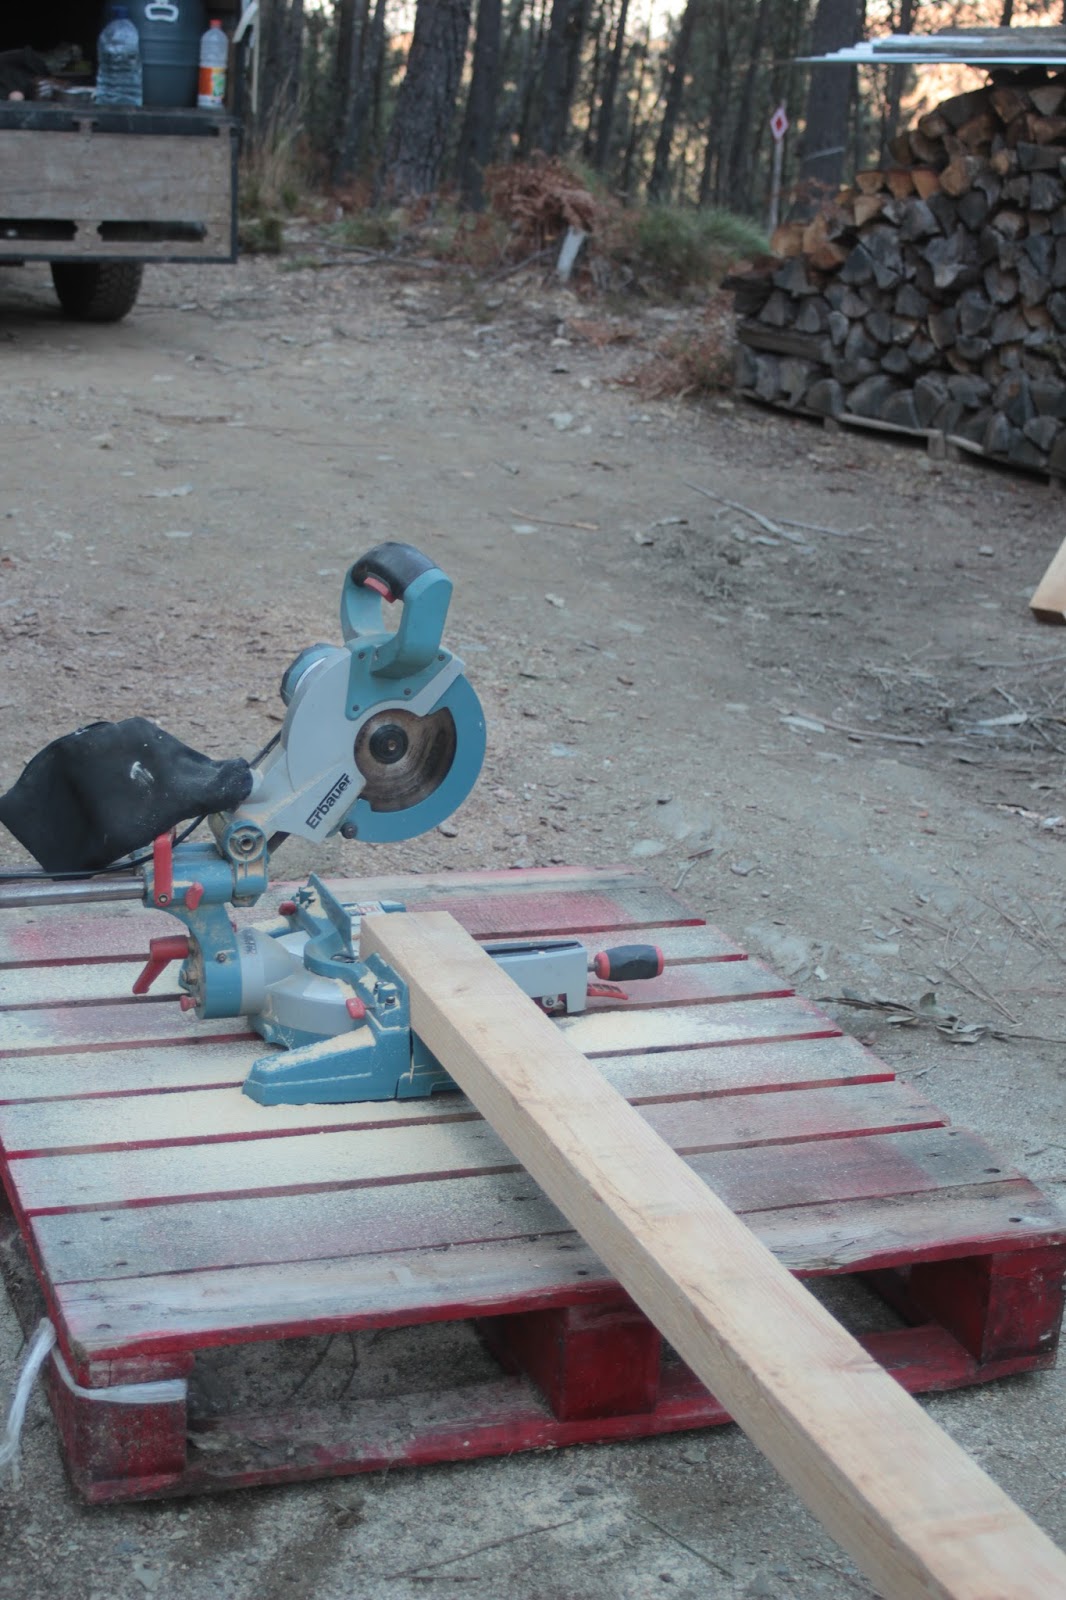
We used a chop saw to cut the big pieces of wood.


David and Raquel